The Complete Guide to Irrigation System Installation for Your Lawn
Learn the key steps to ensure a water-efficient, healthy, and green lawn with a well-installed irrigation system
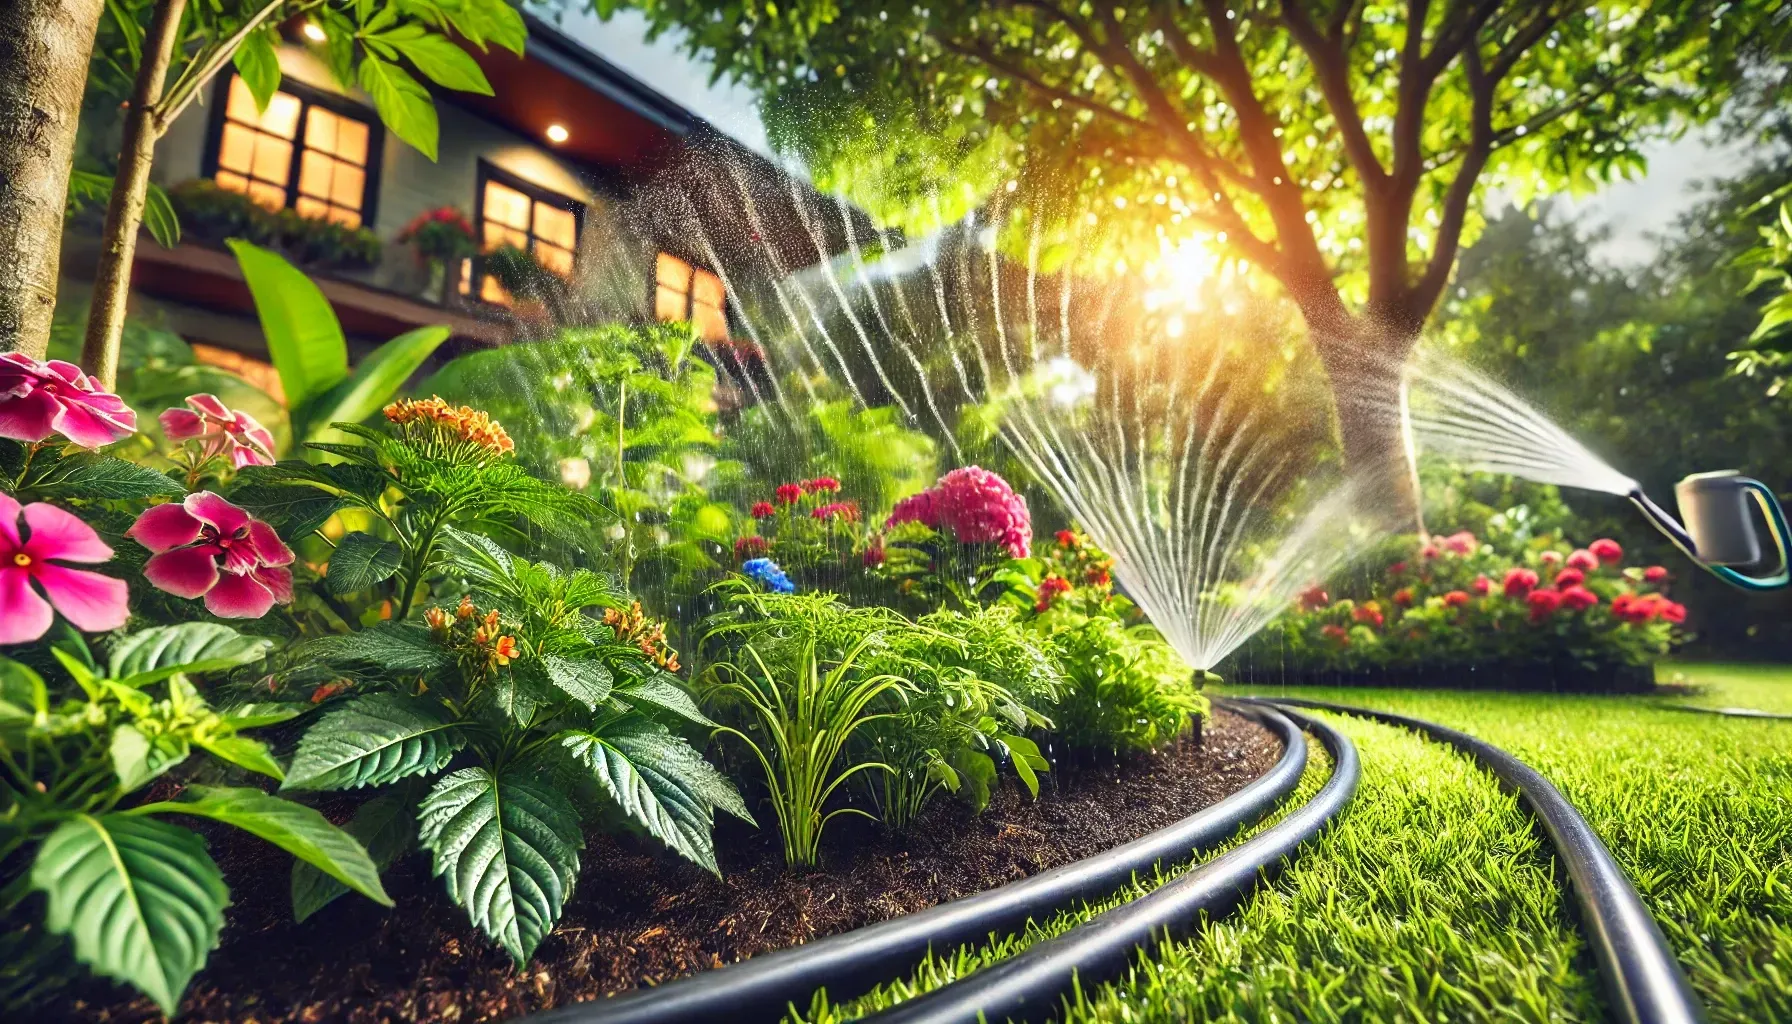
Installing an irrigation system is one of the best investments you can make for the long-term health of your lawn and garden. However, a successful installation involves more than just laying pipes and connecting sprinklers. From designing an efficient system to choosing the right components, this guide will walk you through everything you need to know to ensure your irrigation system provides optimal water coverage, conserves resources, and keeps your landscape thriving.
1. Planning and Design
Before any installation begins, a detailed plan is essential. Start by assessing your lawn’s size, shape, and specific watering needs. Different areas may require different levels of watering, so dividing your landscape into zones ensures efficient water distribution. Consider factors like soil type, sun exposure, and plant varieties in each zone when creating your irrigation layout.
2. Choosing the Right Components
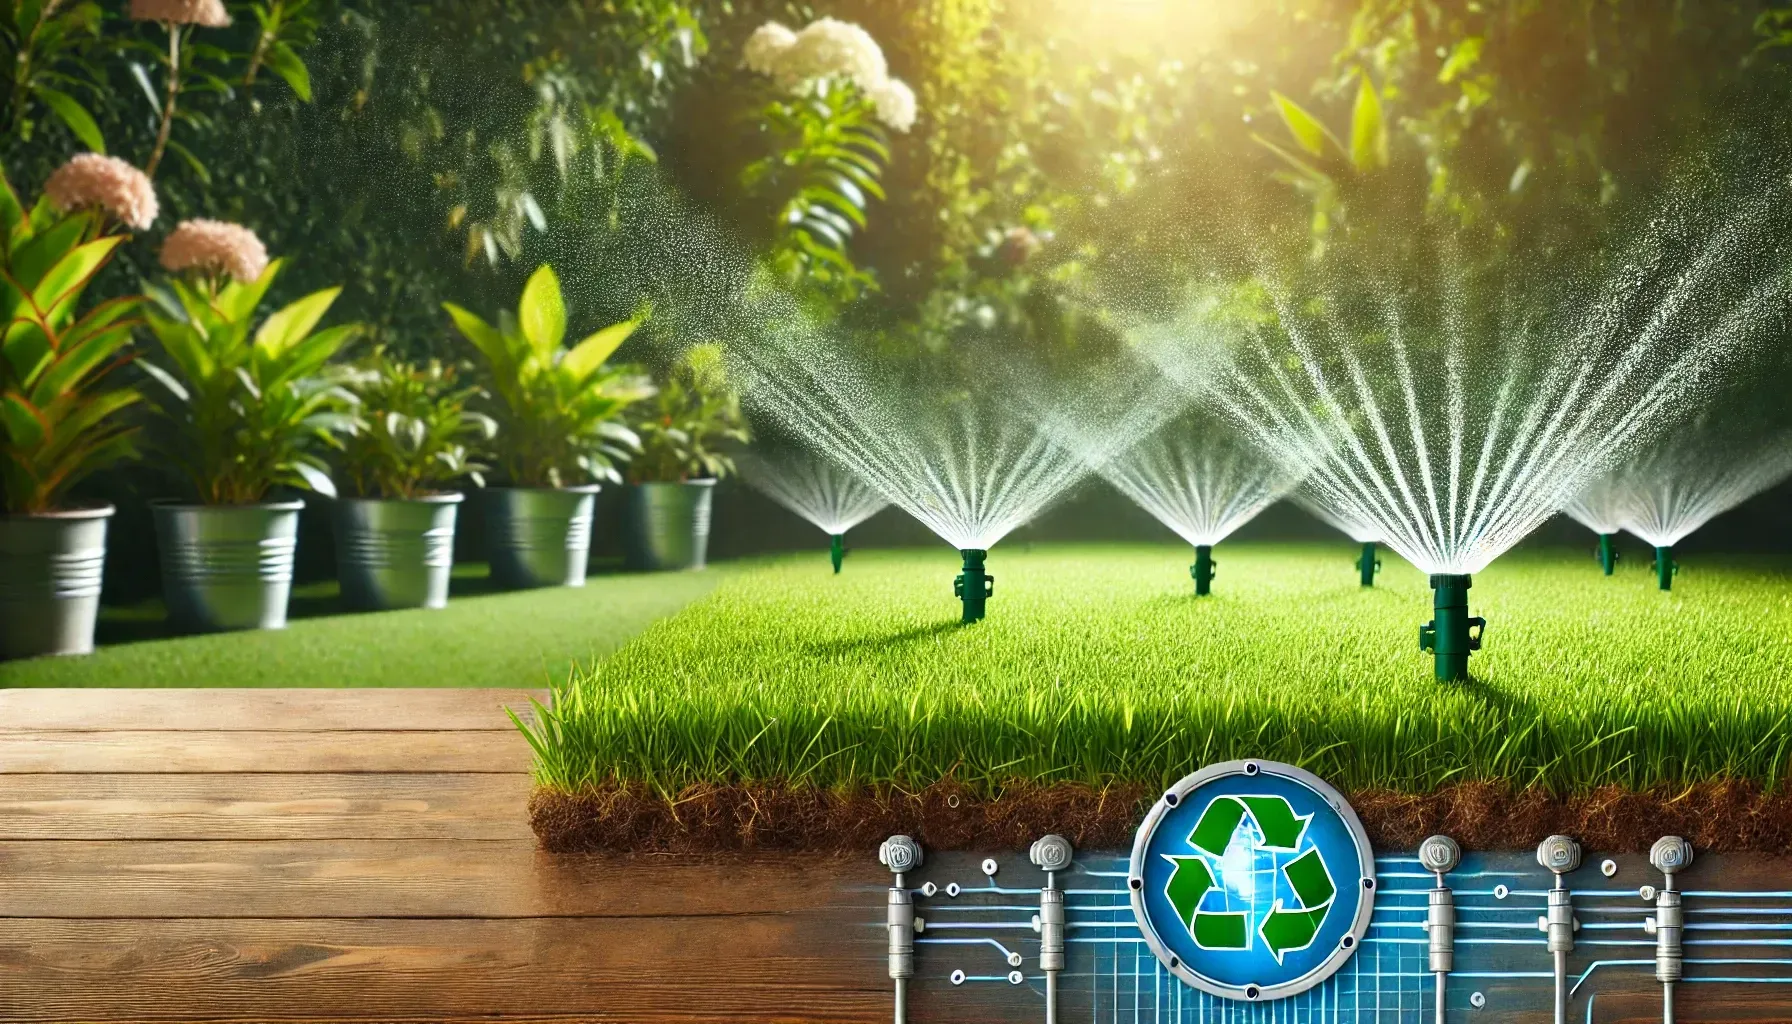
Your irrigation system is only as effective as the components you choose. Selecting the right sprinklers, pipes, valves, and controllers is crucial for optimizing efficiency. Pop-up sprinklers work well for large lawns, while drip irrigation is ideal for flower beds and gardens. Smart controllers can further enhance water conservation by adjusting the schedule based on weather conditions.
3. Installing the Pipes and Sprinklers
Once you’ve mapped out your system and chosen your components, it’s time for installation. Trenches need to be dug for the pipes, ensuring they are deep enough to avoid future damage from foot traffic or lawn mowers. Pipes should be connected securely to valves, sprinklers, and other fittings. It’s crucial to install sprinkler heads at the right height and position to ensure even water coverage across your lawn.
4. Installing the Controller and Valves
The controller is the brain of your irrigation system, and it controls when and how much water is distributed to each zone. Install the controller in a protected location, such as a garage or shed, and connect it to the valves that regulate water flow. Set the appropriate schedules for each zone, taking into account the different watering needs based on plant types and weather patterns.
5. Testing and Adjusting the System
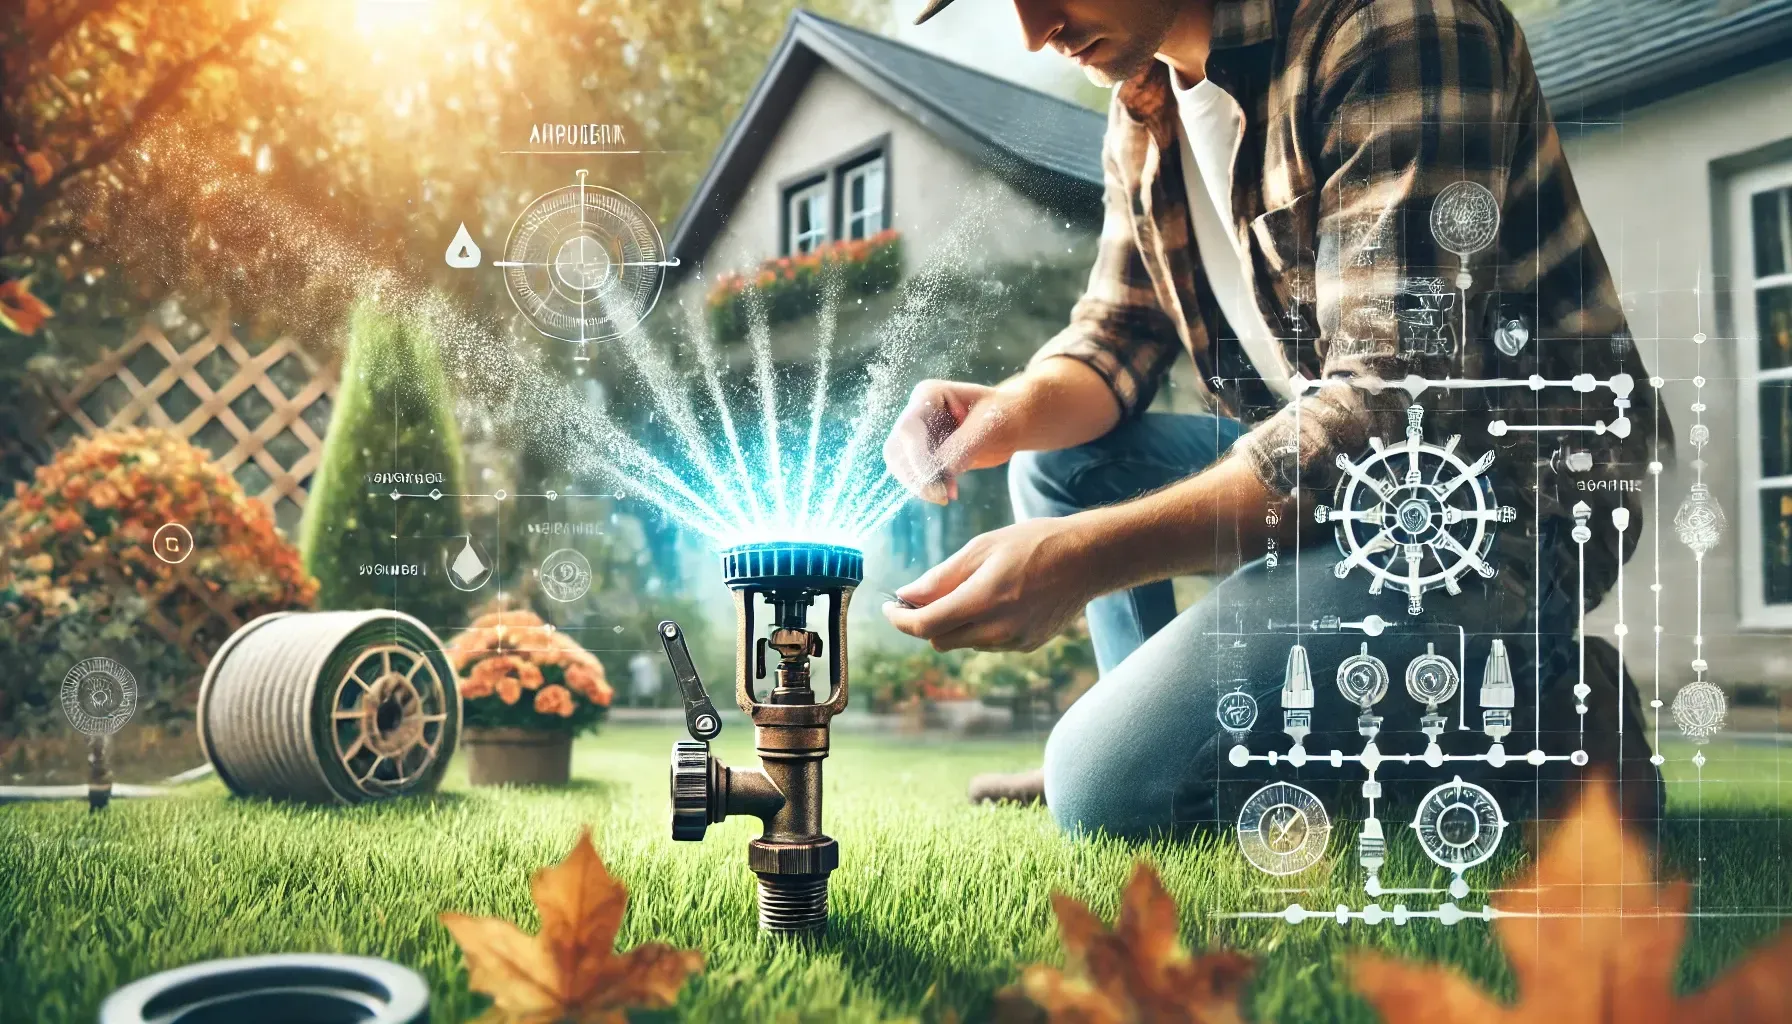
Once your system is fully installed, it’s time for a thorough test. Turn on the system and observe how the water is distributed across each zone. Make adjustments to sprinkler heads, water pressure, and the controller’s schedule to ensure your lawn is receiving the right amount of water. Fix any leaks or misaligned sprinklers to avoid water waste and uneven coverage.
Installing a proper irrigation system takes careful planning and execution, but the benefits are well worth the effort. A well-installed system not only keeps your lawn and garden healthy, but it also saves water, reduces your utility bills, and adds value to your property. Whether you’re installing the system yourself or hiring a professional, following these steps will ensure that your landscape remains lush and vibrant year-round.
Thinking of installing an irrigation system? Contact AquaPros Irrigation today for expert advice, custom installation, and water-saving solutions that are tailored to your lawn’s unique needs
You might also like
Book a Service Today
We will get back to you as soon as possible
Please try again later
Serving All of DFW
HQ Located in Melissa, Texas
dwight@aquaprosirrigation.com
Call
469-659-3938
Quick & Reliable
We are available 24/7 via fax, email or telephone
© 2024 AquaPros Irrigation | Proudly made with ❤️ by Curematics


